


- November 12, 2020
- Chatbot
As we all know ManyChat is the most popular and easiest platform to create Facebook Messenger chatbot. It’s a simple flow builder. You can create varieties of use cases like Customer engagement, Lead generation, Service guides, etc with the help of Manychat.
As Chatbot Developers and Consultants, we always try to improve the user experience and make the bot more intelligent. In that journey, Natural Language Processing (NLP) plays an important role. NLP enables you to find out the meaning of the user’s natural language input so that we can provide them with meaningful answers. So we think instead of having a ManyChat default reply, we can define what the user is saying with NLP and drive the conversation in a perfect way.
To enable NLP in your chatbot, Dialogflow is one of the best efficient ways. It is an end-to-end tool powered by Natural Language Understanding to facilitate rich and natural conversations. But Manychat is not providing any integration to make this connection between Manychat and Dialogflow. There are some other ways to achieve this integration, but what would be the best and easiest way to do that?
To answer this question, we are here with the one-stop “Solution” call “One Touch” which can integrate these two most powerful tools in very few steps and will help you to make your bot intelligent and you are good to go! But how to use it? I’ll explain. So let’s get started!
To integrate Dialogflow with Manychat you’ll need these 3 things:
- Manychat Pro account (manychat.com)
- Dialogflow Agent (dialogflow.com)
- One Touch Account (onetouch.kevit.io)
Steps:
1. Log in to onetouch.kevit.io with Facebook or Google.
2. Create Project and upload the JSON file downloaded from your DialogFlow Agent.

Note: If you do not have JSON file yet then go to step-3 and if you have already downloaded the JSON file then upload it and skip to step-4.
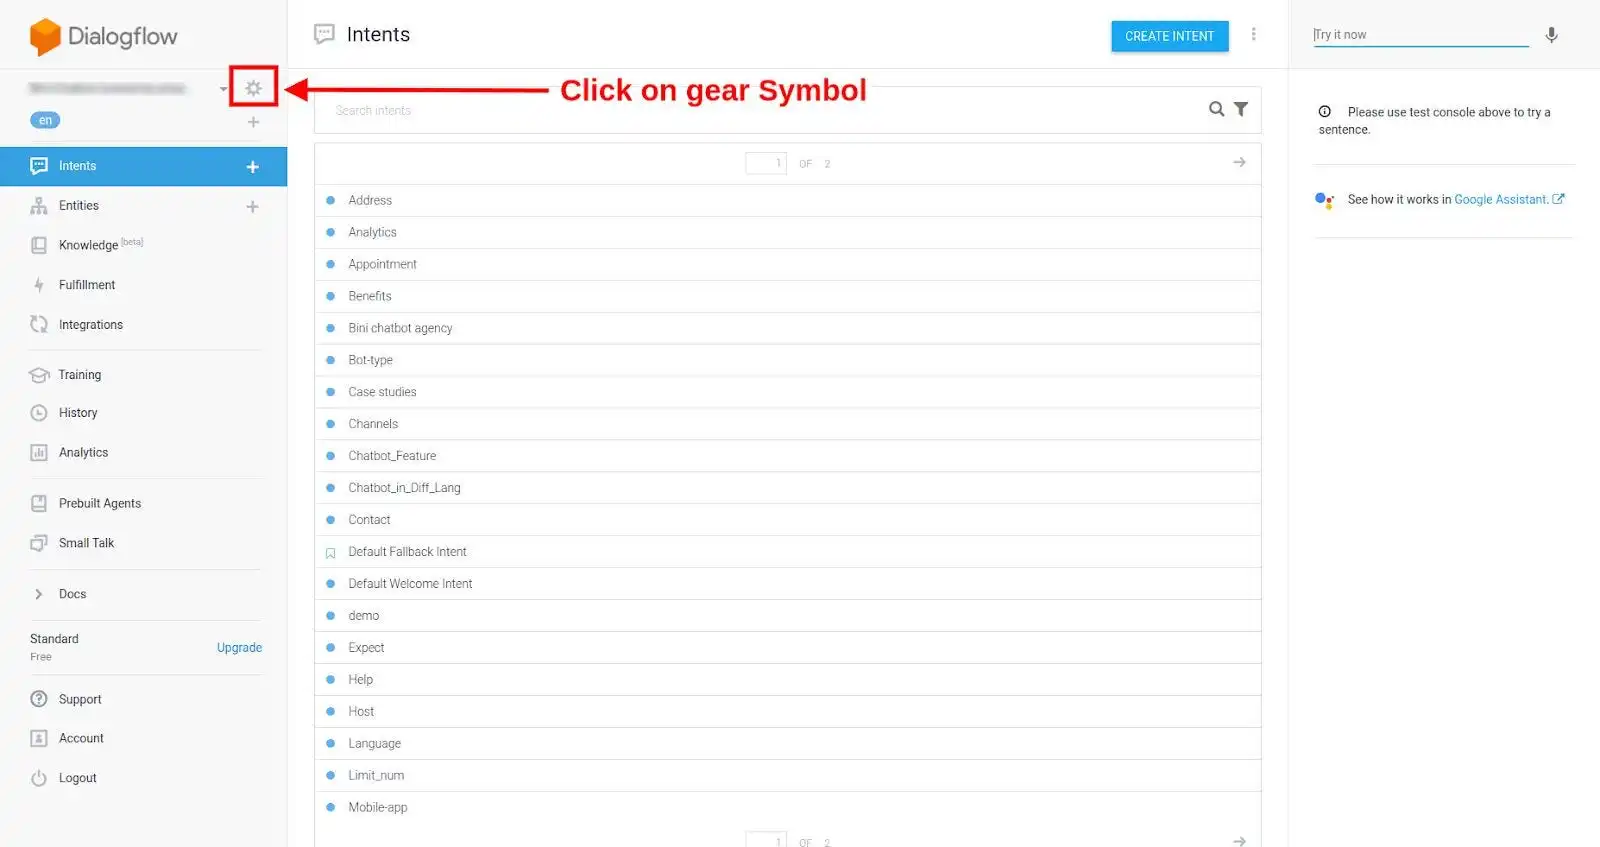
3. You will need to upload the JSON file. To get the JSON file, go to your Dialogflow agent.
Press console (https://console.dialogflow.com/api-client/#/agent) and click on the gear symbol shown in the picture 👇
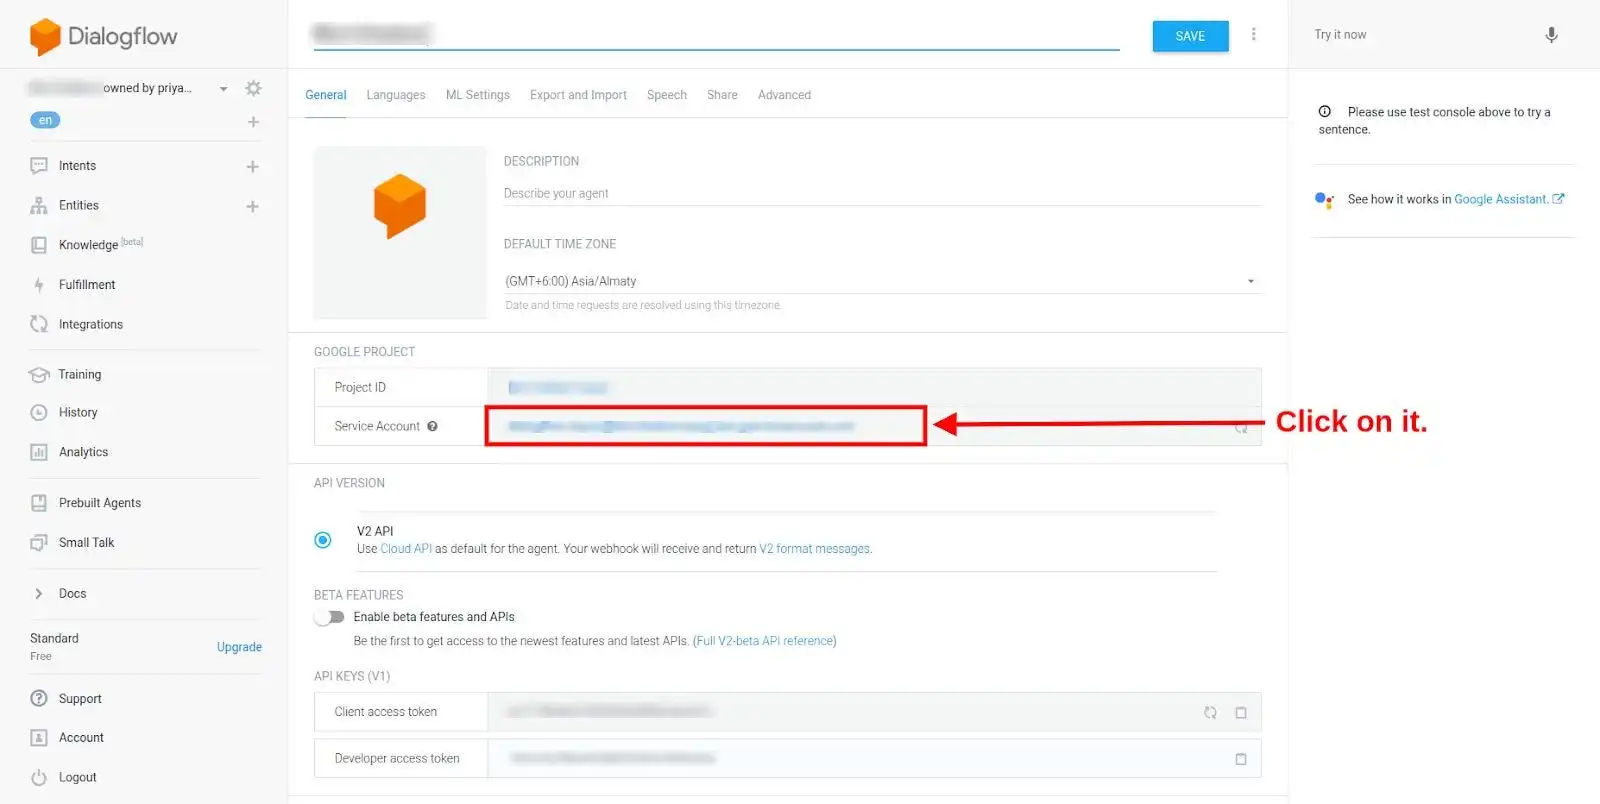
Now, you click on Service Account Value as shown below:
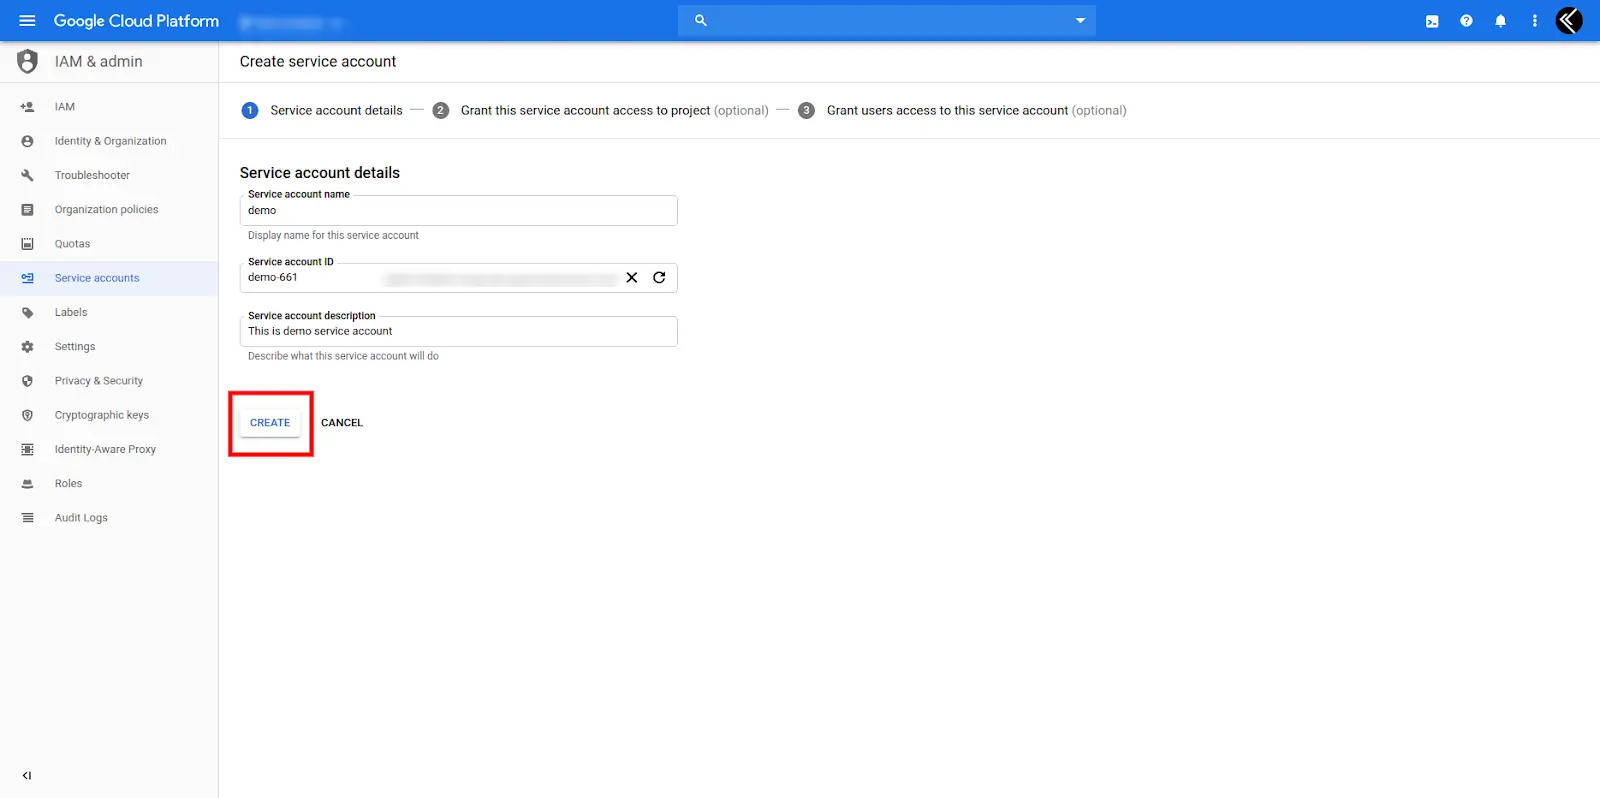
Then, go to Google Cloud Platform. You’ll get to see — “Service Account” button. Click on it and create a new service account.
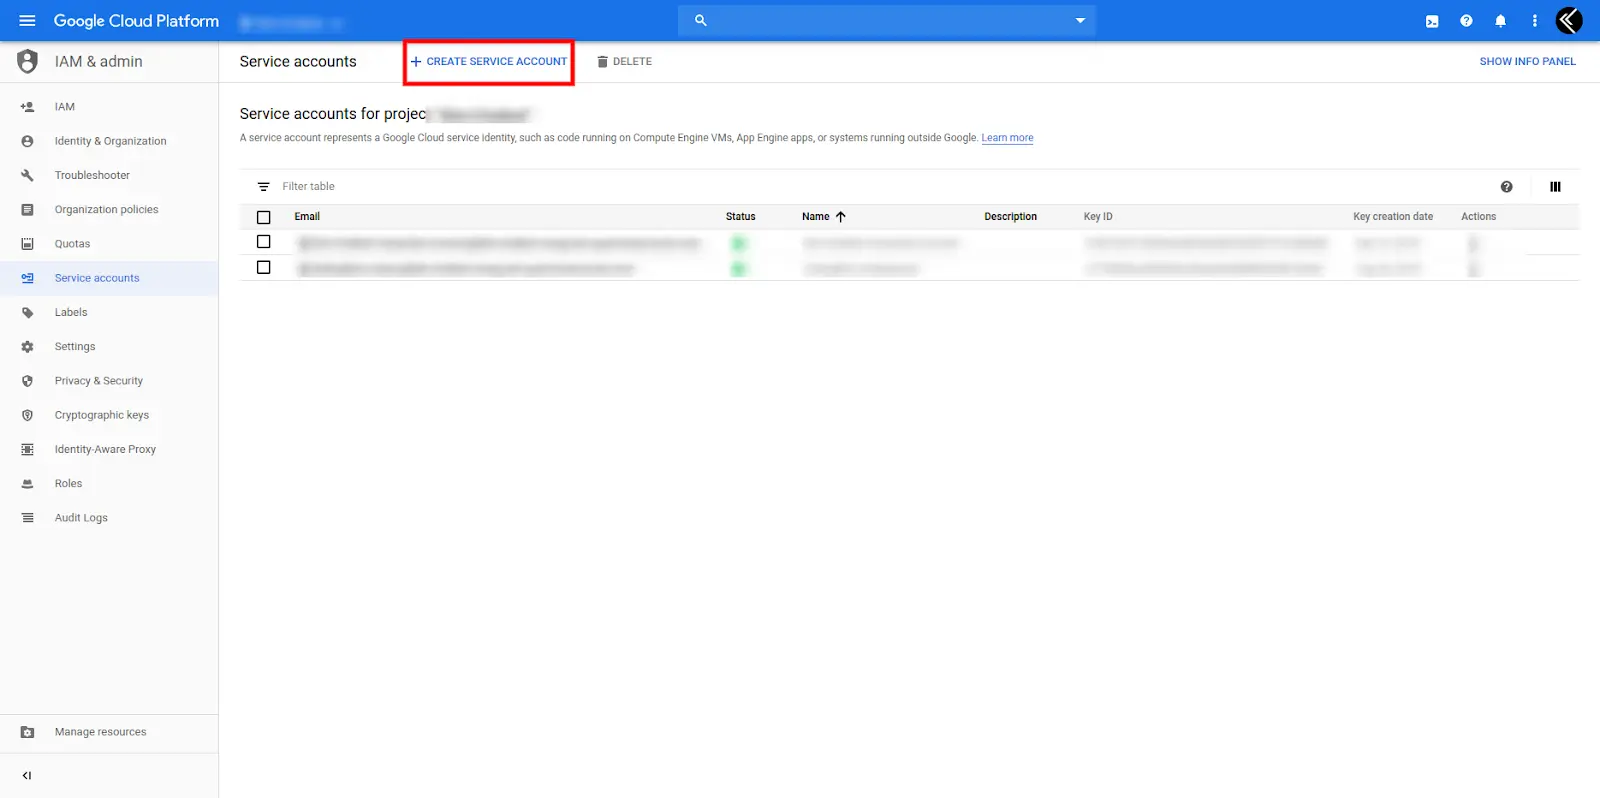
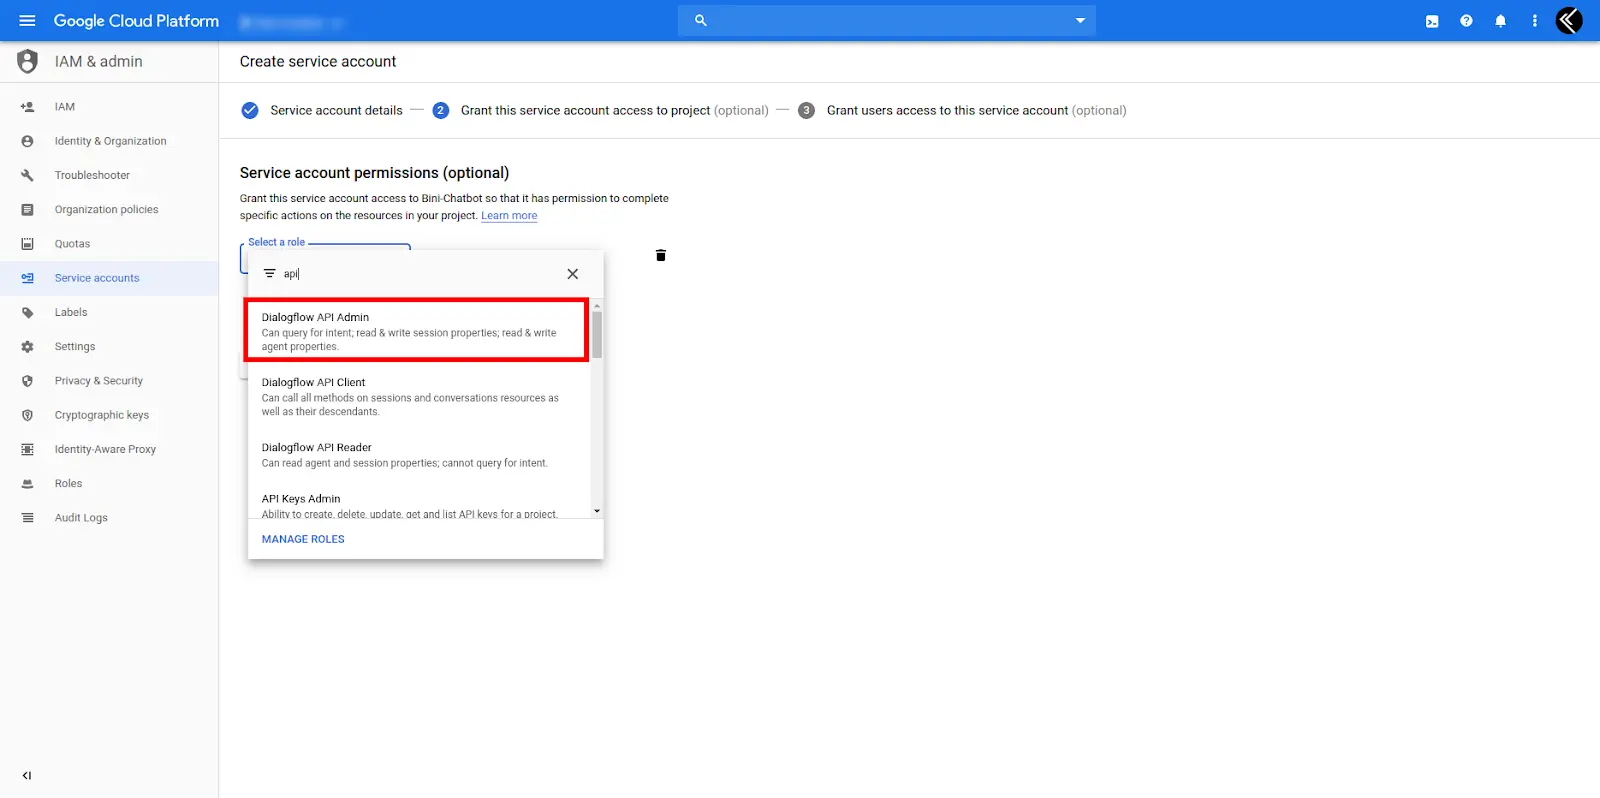
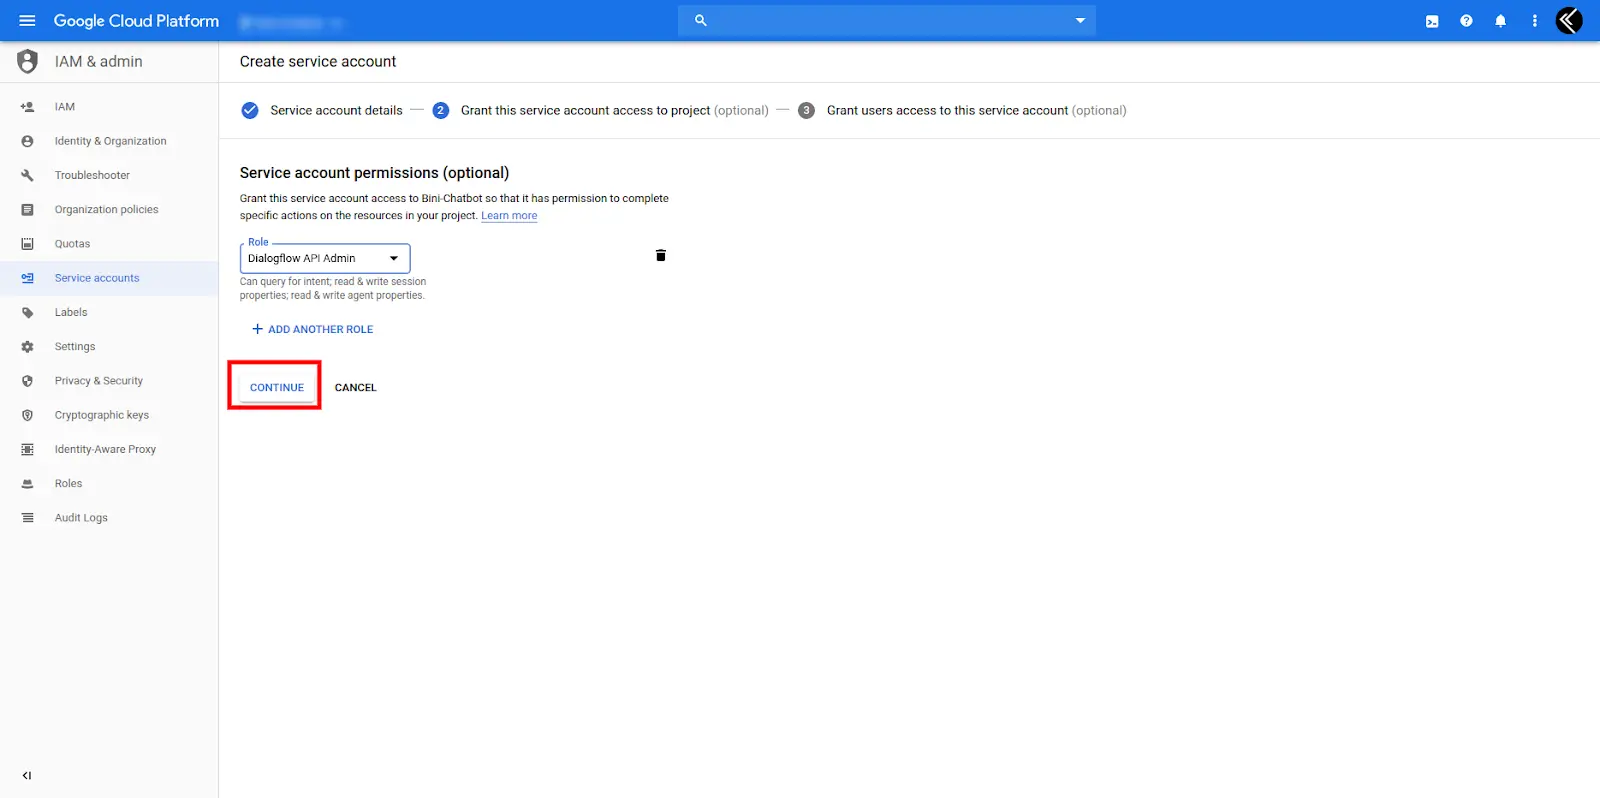
Select the role of Dialogflow API Admin and click create button:
Now click on the “Generate Key” button and it’ll generate a key.
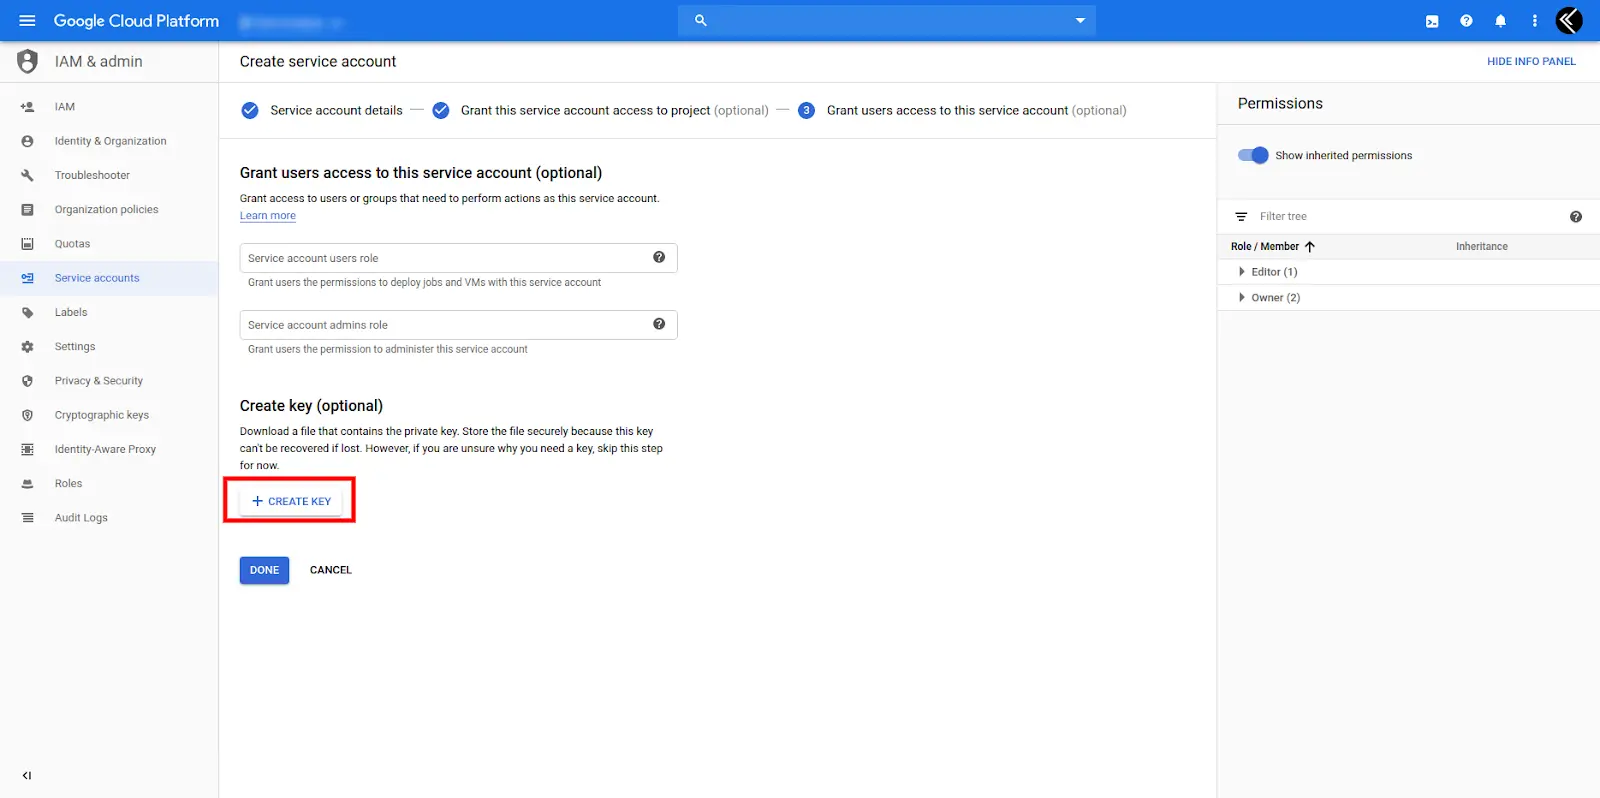
Here you will get two options 1. JSON and 2. P12. Click on option one — JSON then click on the create button. You will get your JSON file.
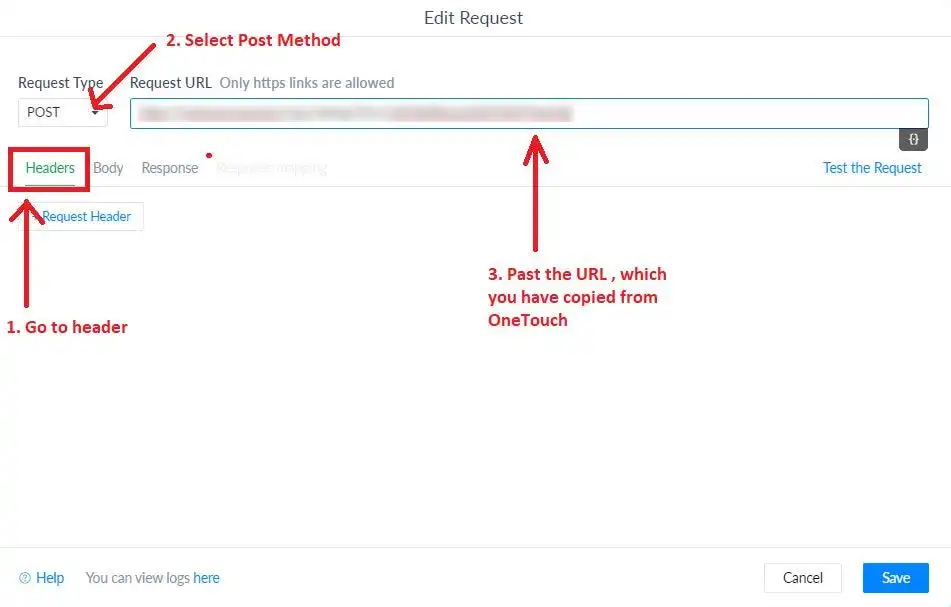
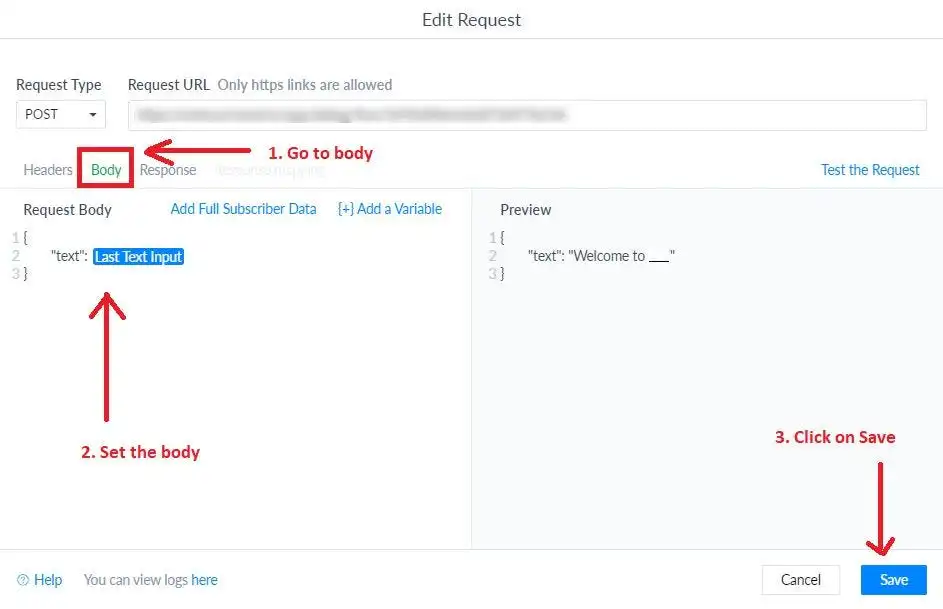
4. Once the JSON has been uploaded to OneTouch you will get one link. We need to configure this link with Manychat. So, copy it.
5. Now Go to manychat.com and select your Bot.
6. To set Dialogflow as a Default reply so go to Automation > Defaultreply >Edit Flow.
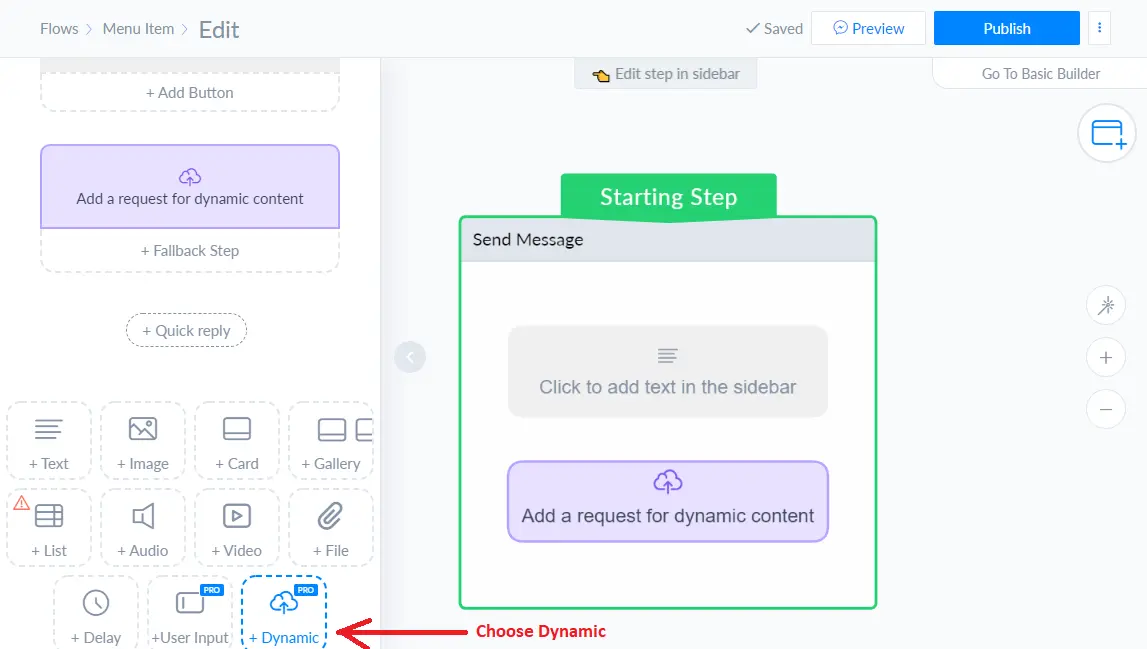
7. Now choose “Dynamic Input”. Note that you can access this only if you have a Pro Account.
And that’s it! You are ready to go!
Are you also interested to connect ManyChat and Dialogflow, no worries Kevit.io is there to help you. You can schedule a demo or mail us at coffee@kevit.io for more information.